HOW TO APPLY GRAPHICS
Wall graphics, posters and decals are a great way to style buildings and communicate to others, but in order to get these to last long and be installed correctly, the following things may need to be considered prior installation:
a) Ensure the area where the graphic is going on a finished wall, and that is properly clean from dust and chemical free, avoid using solutions that include ammonia, oil or other compromising chemicals. Proper wall cleaning can be limited to a moist wipe, rag or clean fabric preferably out of cotton.
b) Make sure the wall where your graphic is going is already cured from any recent paint job or wall treatment that may interfere with the back adhesive of the poster/decal being installed. After a fresh paint job, it would roughly take around three days for the paint to cure, for best reference please check your paint’s supplier website or info booklet. Unfinished or plastered walls are not recommended for these products unless you contact your supplier for a special order.
c) Installation of graphics works best under room temperature, between 15C to 27C, any other temperature may affect the integrity of the graphic, either the back adhesive or the film itself.
d) Basic tools are needed to get the job done: Squeegee (or credit card), measuring tape and/or level, pair of scissors, masking tape (green), Exacto ®
After you gather all above please proceed with these steps:
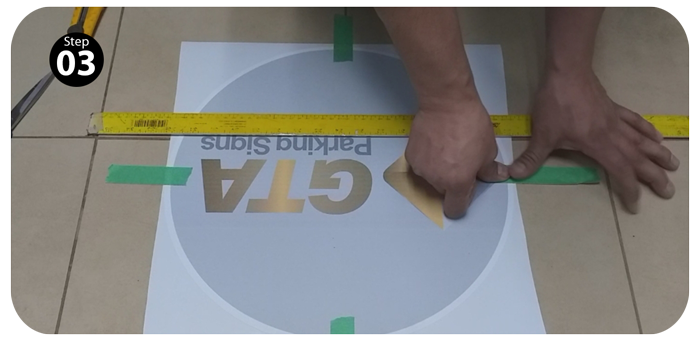
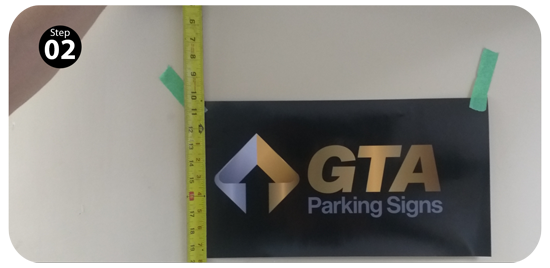
a) Roughly centre your poster against the wall space you have chosen and hold it with two pieces of making tape close to the two upper corners of the printed poster. Take a look from a fair distance from the wall to re-position the graphic if necessary, you may have a second saying from someone else in regards of height or poster’s positioning.
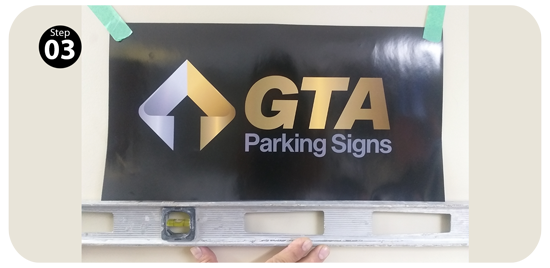
b) After you made a decision of the exact spot, measure/level horizontally and vertically then adjust accordingly and put a line of masking tape right along the upper part of the printed poster. Make sure 50% for each, the wall and the print are equally shared with the masking tape; pass your squeegee (credit card) on top to secure graphic with the tape and leave the graphic hanging by the tape.
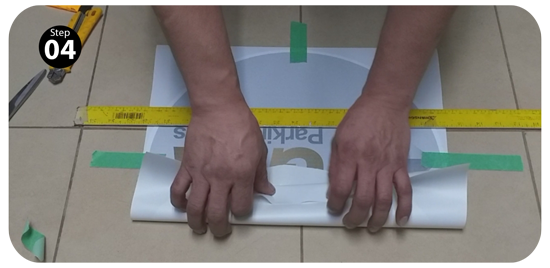
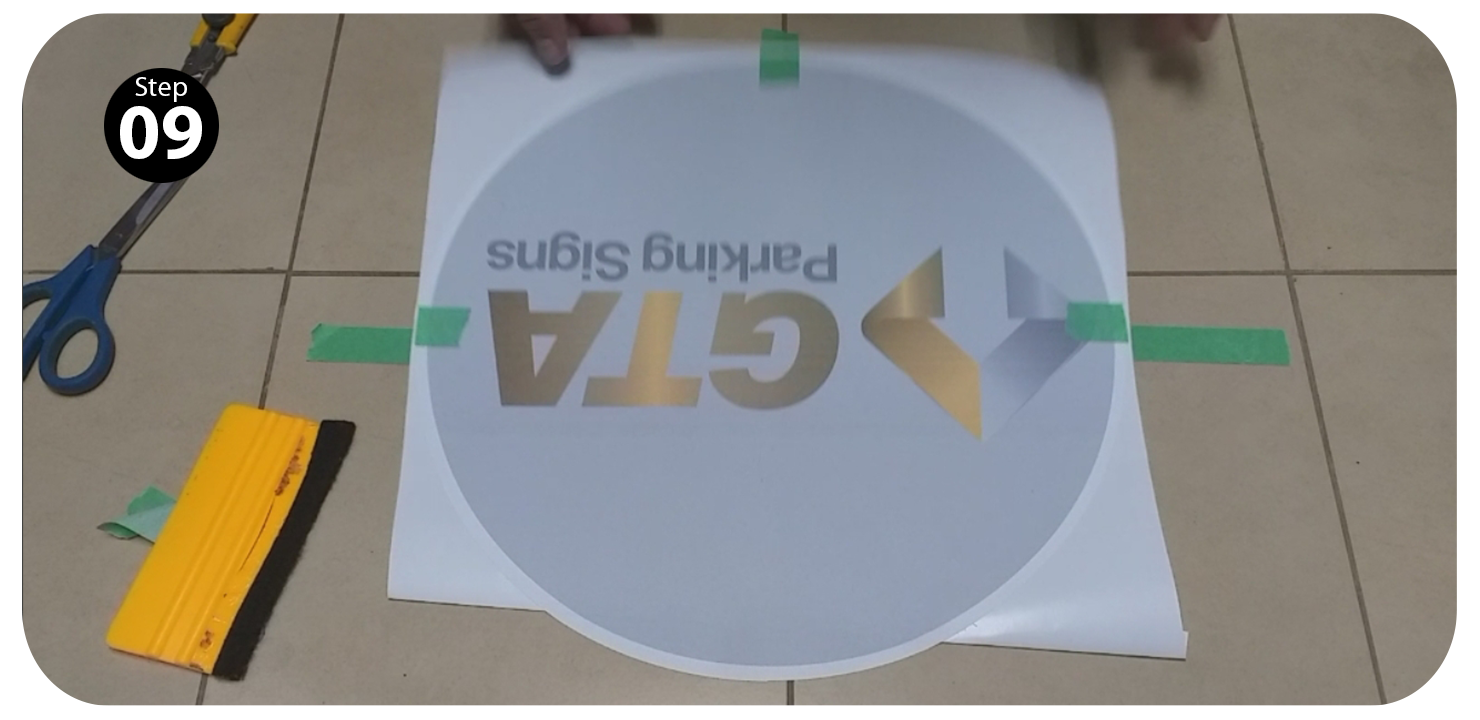
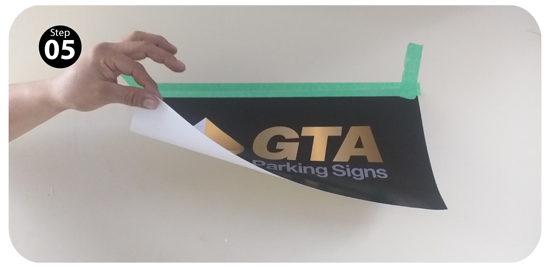
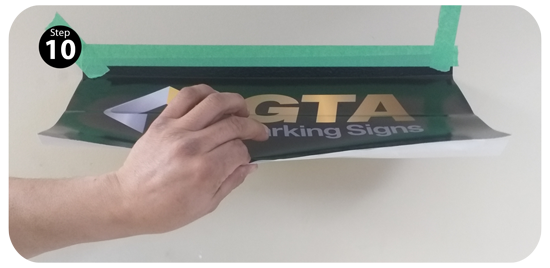
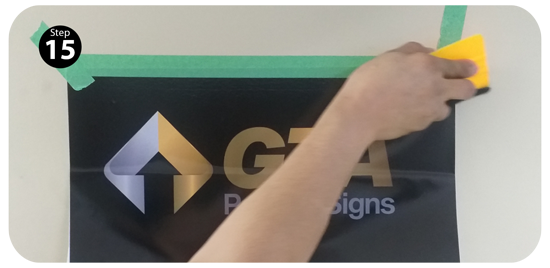
c) Open the hinged graphic from the bottom part and bring it all the way up on the wall, making sure the hinging masking tape does not come out, peel off about 1.5” of the back liner and fold it sharply in the same direction of the masking tape, after this is done bring back down from the open position to the closed position, always in a light stretching mode (so the graphic does not wrinkle), with your thumb lightly press along the upper edge of the graphic. This will secure the graphic to the wall from the upper part.
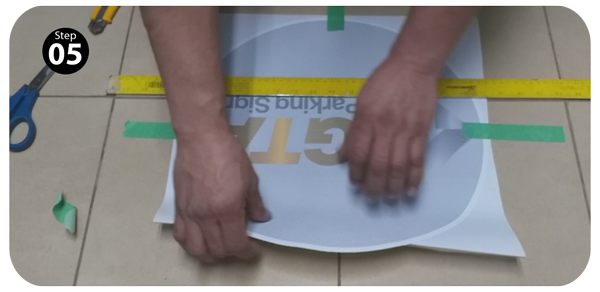
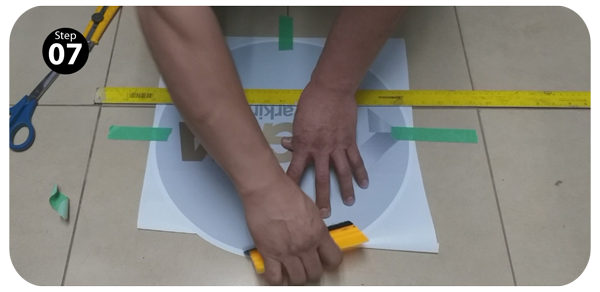
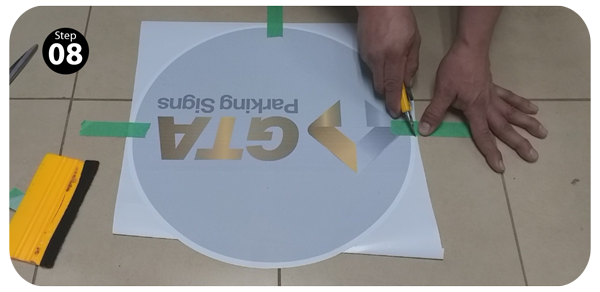
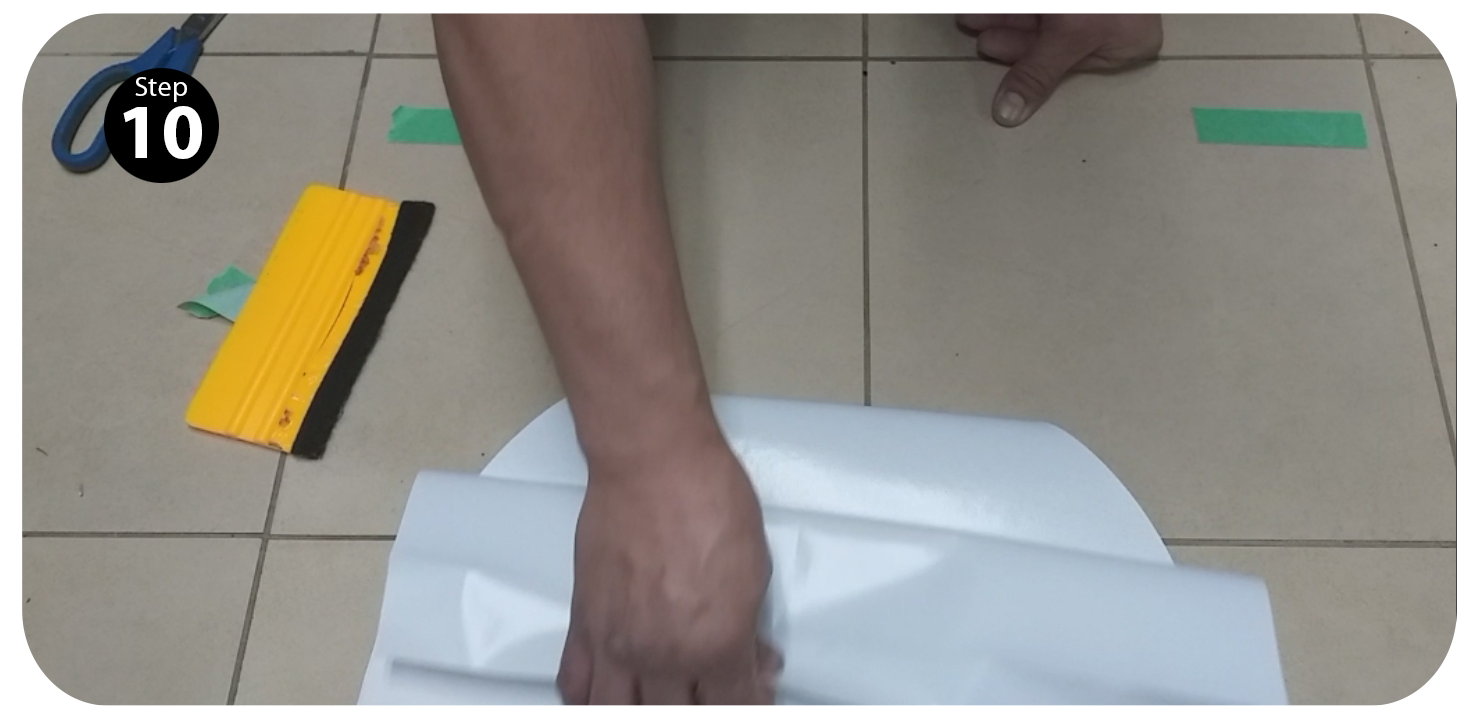
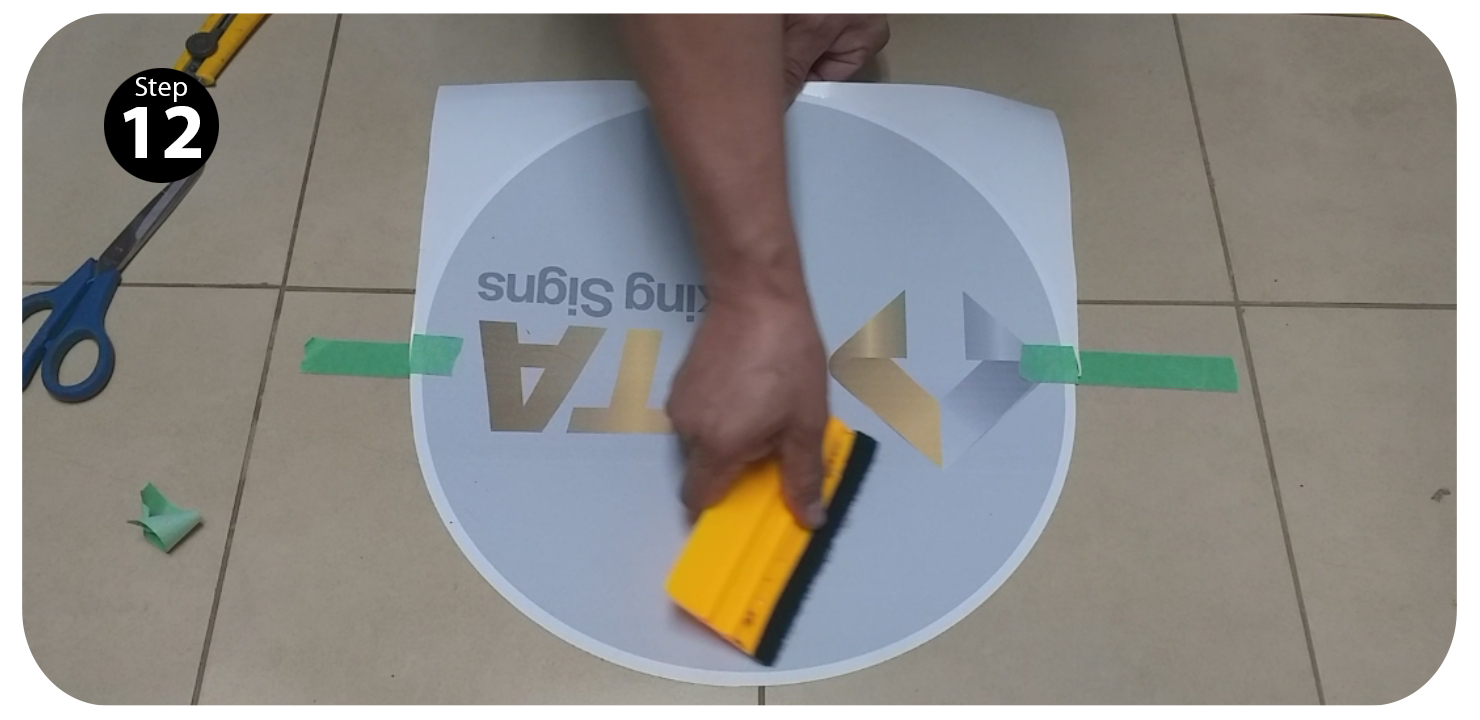
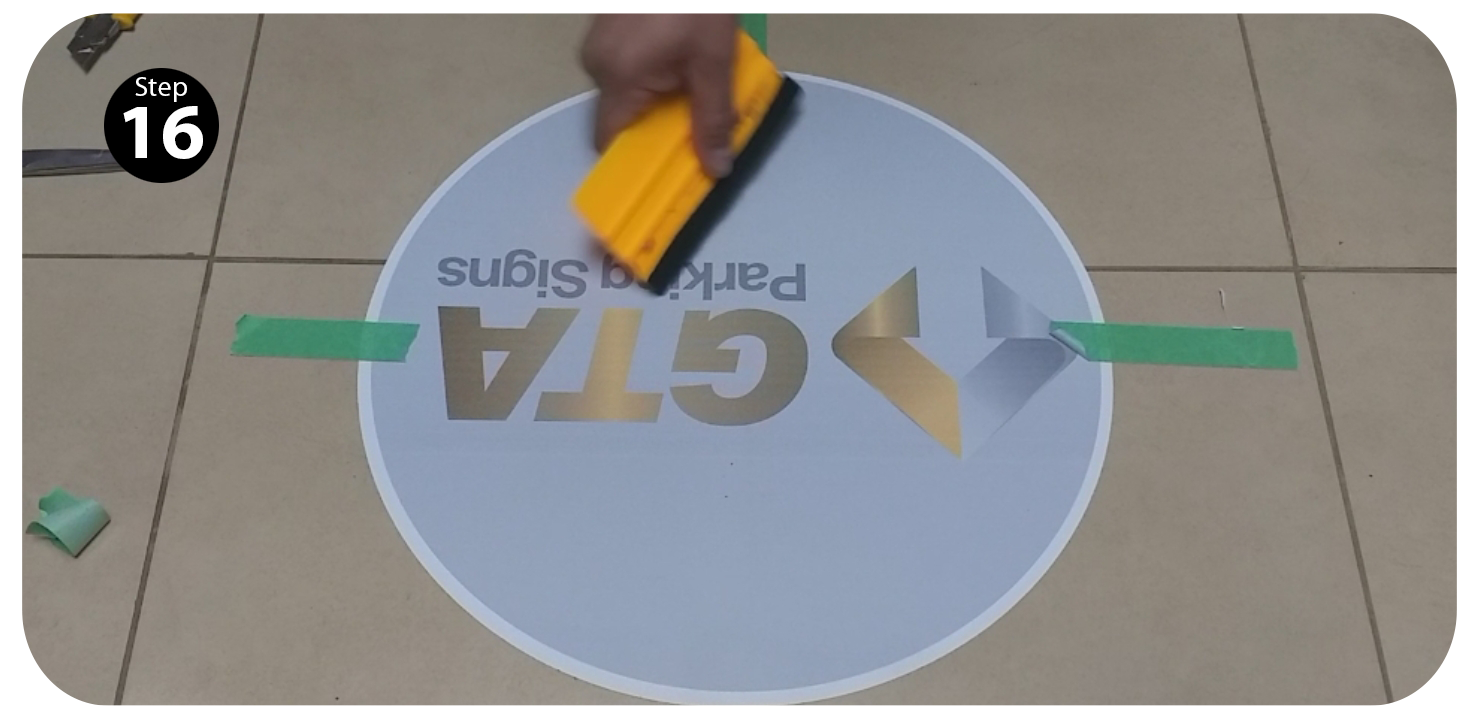
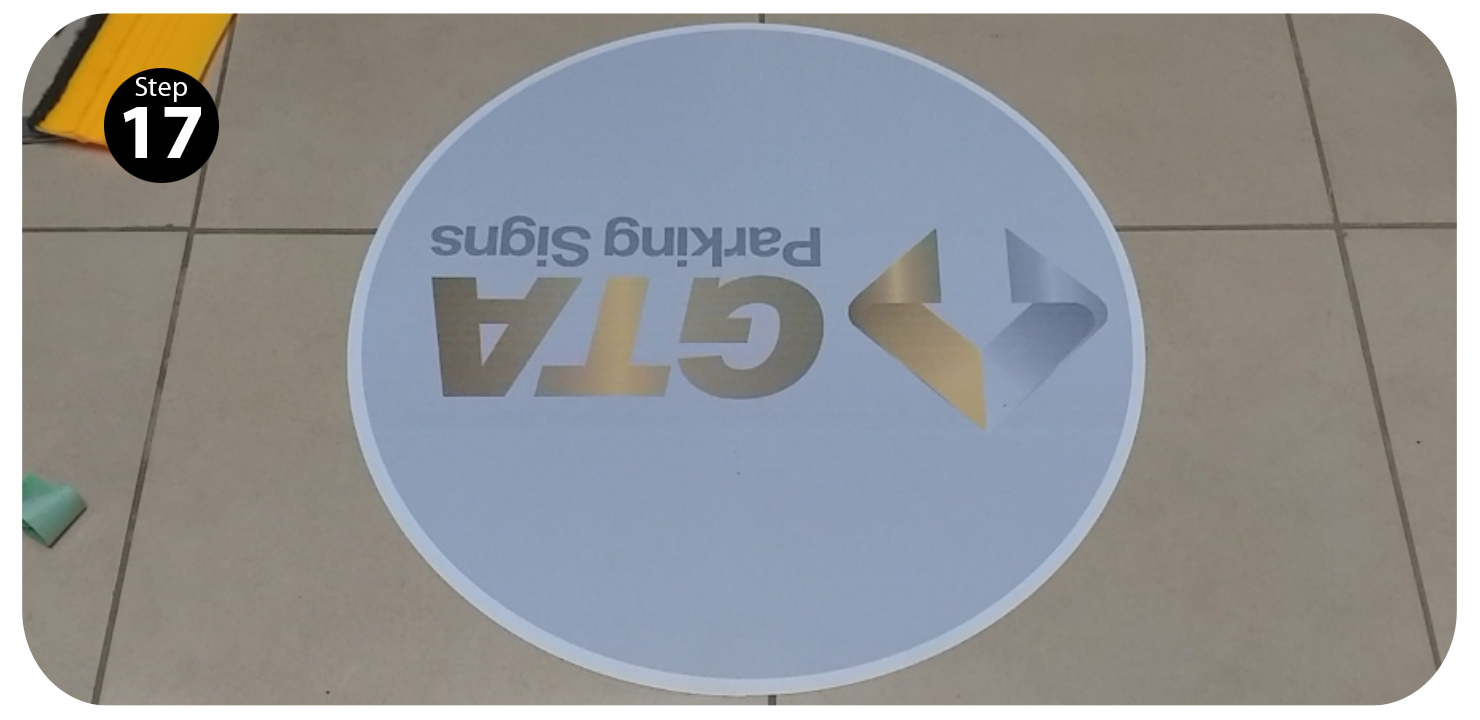
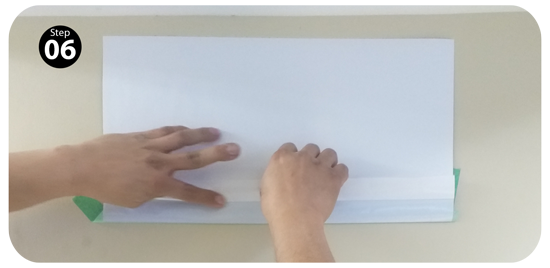
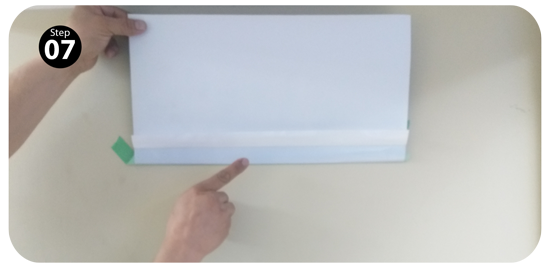
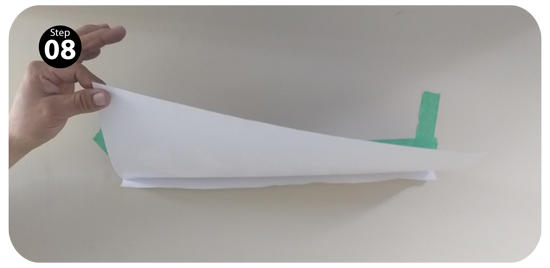
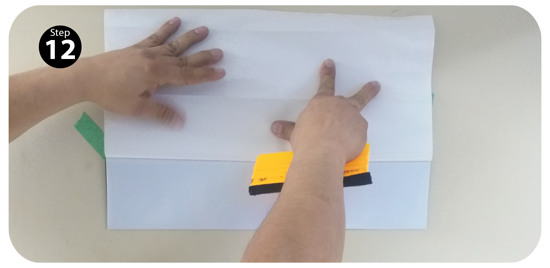
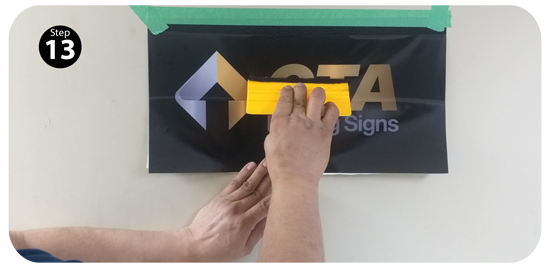
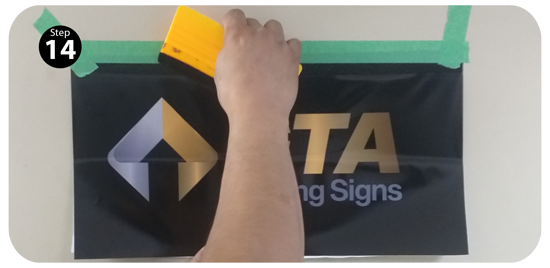
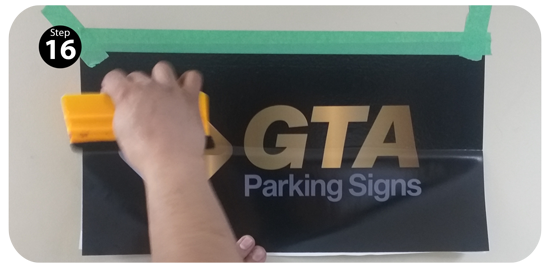
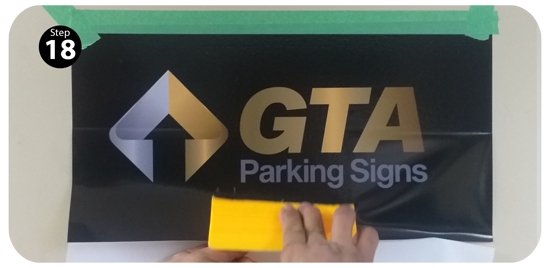
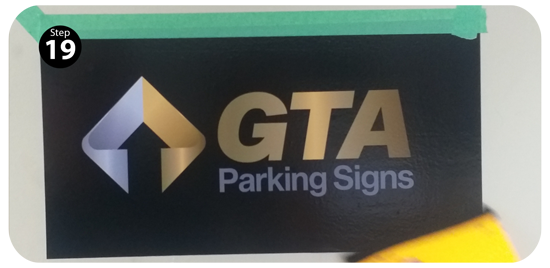
d) Lift the (hinging) graphic one more time from the bottom to approximately 60 degrees and step by step (depending the size of the printed poster) peel off sections and with the squeegee (credit card) pass sections centre to side (for big posters) or side do side (for small posters), repeat these last steps until you eventually get to the bottom. After you’ve done with this part, please go back and squeegee all poster sections one more time, just to ensure there are no sections left unattended. Voila! You’ve got yourself a gorgeous job.